Thinking about listing your Norwell Colonial this spring? You know first impressions matter, and the right staging can make your home feel brighter, larger, and more move-in ready. With a few focused updates and a clear plan, you can highlight your home’s classic character while meeting modern buyer expectations. In this guide, you’ll get room-by-room checklists, photography tips, and an easy timeline tailored to Norwell and the South Shore. Let’s dive in.
Spring timing in Norwell
Spring is the prime selling season across Greater Boston and the South Shore, including Norwell and nearby Plymouth County towns. Listings that hit the market from late winter through spring often see more showings and stronger offers than midwinter launches. If you are targeting the spring window, use the next 6 to 8 weeks to plan, prep, and stage so your photos are live when buyer activity ramps up.
What buyers expect
In Norwell, buyers often want the best of both worlds. They appreciate classic Colonial details like center halls, crown molding, and fireplaces, along with modern, neutral finishes in kitchens and baths. Many also value convenient access to Boston and a yard that looks tidy and seasonally appropriate. Your goal is to show balanced updates without losing the charm buyers travel to Norwell to find.
Colonial staging principles
- Showcase symmetry and trim. Keep sightlines open down the center hall and avoid furniture that blocks mantels, built-ins, or windows.
- Create clear flow. Arrange seating to support conversation and circulation, especially in formal rooms and spaces that connect to the kitchen.
- Balance formal and casual. Make both the parlor/dining rooms and everyday spaces feel inviting and cohesive.
- Use a neutral base. Try soft whites, warm grays, or gentle greiges. Add classic accents like navy, warm leather, or brass in small doses.
- Update what matters. Focus on lighting, hardware, faucets, and paint. Preserve period trim and hearths when they are in good condition.
Room-by-room checklist
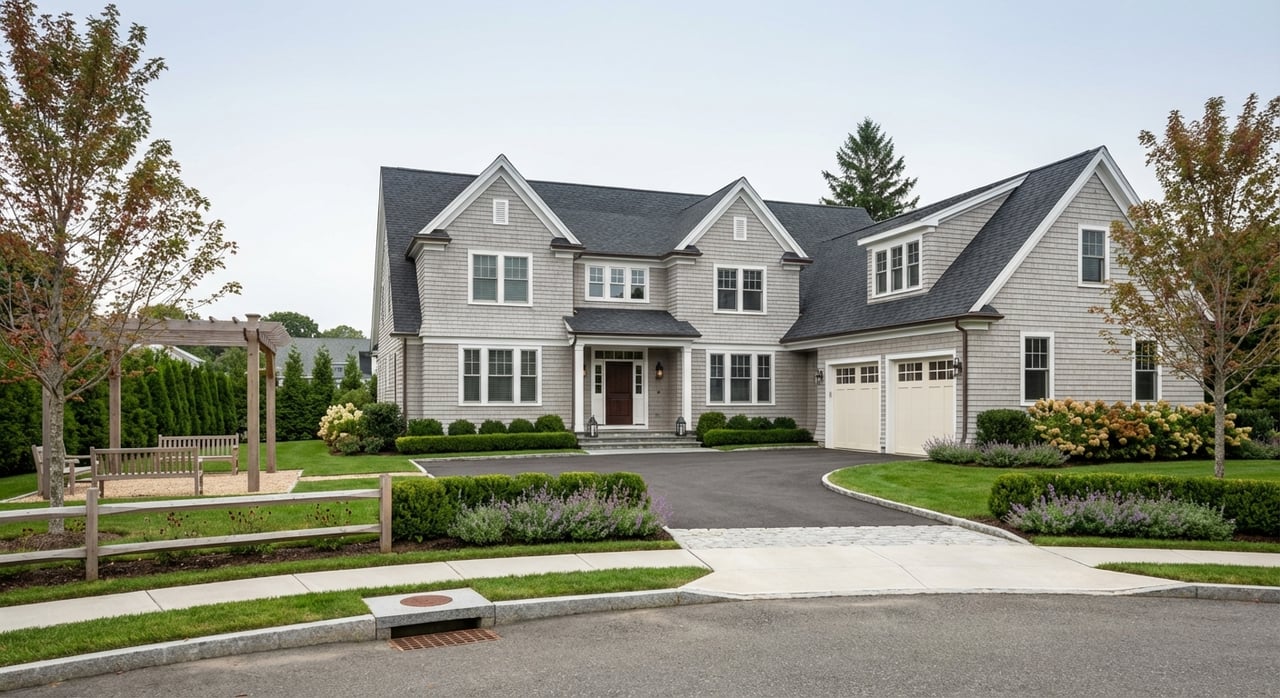
Curb appeal and exterior
- Touch up paint on the front door and trim; update or polish house numbers and door hardware.
- Power-wash siding and clean winter residue from walkways and steps.
- Edge beds, remove debris, and add mulch. Plant early-season color for photos and showings.
- Place a simple doormat and one or two potted evergreens or seasonal planters.
Photo tips:
- Capture a straight-on curb shot and an angled approach that shows the driveway and landscaping.
- Add a twilight exterior with interior lights on for warmth.
Entry and center hall
- Keep the center hall sightline clear; remove bulky tables or extra seating.
- Use one console or a small bench, a mirror to boost light, and minimal decor.
- Show practical storage with a tray for keys and a closed basket for mail.
Photo tips:
- Shoot straight down the hall to emphasize depth and symmetry with even lighting.
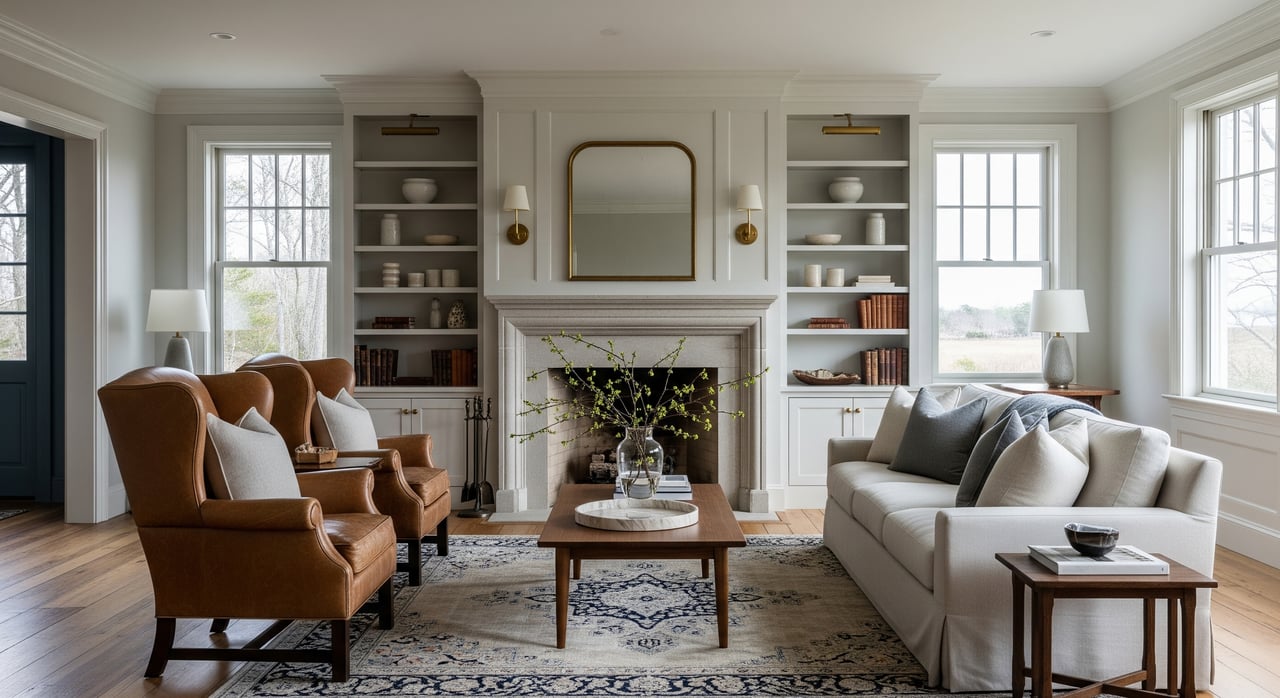
Formal living room
- Arrange seating around the fireplace if present, keeping pieces scaled to the room.
- Remove heavy drapes; use simple panels or leave windows open to light.
- Layer a neutral rug, a small coffee table, two lamps, and 3 to 5 curated accessories.
Photo tips:
- Shoot from the entry at a 45-degree angle to show depth, ceiling height, and the fireplace.
- Include a detail shot of the mantel or built-ins.
Dining room
- Set a simple table vignette with a neutral runner and centerpiece; limit place settings to 4 to 6.
- Curate china cabinets with a few items; remove personal collections.
- Clean the chandelier and use matching warm bulbs.
Photo tips:
- Capture a wide shot that shows the doorway and flow to adjacent rooms.
- Include a close-up of the table and chandelier.
Kitchen and mudroom
- Clear counters and keep only 2 to 3 high-impact items like a fruit bowl or vase.
- Clean appliances and update cabinet hardware or lighting if dated.
- If needed, paint cabinets in a neutral tone and refresh faucets for a quick lift.
- Stage island or breakfast seating with simple place settings.
- In the mudroom, use labeled baskets, shoe trays, and a few coats to show orderly storage.
Photo tips:
- Shoot wide from a corner to show layout, cabinetry, and flow to family spaces.
- Include close-ups of clean counters, hardware, or any upgraded finishes.
Primary suite
- Dress the bed in white or cream with one accent color; use matching lamps for symmetry.
- Minimize personal items and keep a portion of the closet neat to suggest storage.
- In the en suite, add folded towels and a small plant; remove toiletries.
- Right-size the furniture; consider a small seating zone if the room is large.
Photo tips:
- Capture a wide shot from the doorway that includes the bed, window, and sightline to the bath.
- Add detail shots of the vanity and shower or tub.
Secondary beds and office
- Stage at least one room as a dedicated bedroom and consider one as an office if local demand supports it.
- Keep desks tidy, shelves minimal, and closets organized.
Photo tips:
- Use wide shots that highlight light and scale with minimal clutter.
Laundry, basement, systems
- Clean and deodorize the laundry area; add a folded towel stack and a basket.
- In the basement, improve lighting, remove clutter, and highlight usable square footage.
- Make mechanicals accessible and organized; have service records ready for buyers.
Photo tips:
- Shoot clean, well-lit images that focus on storage and utility.
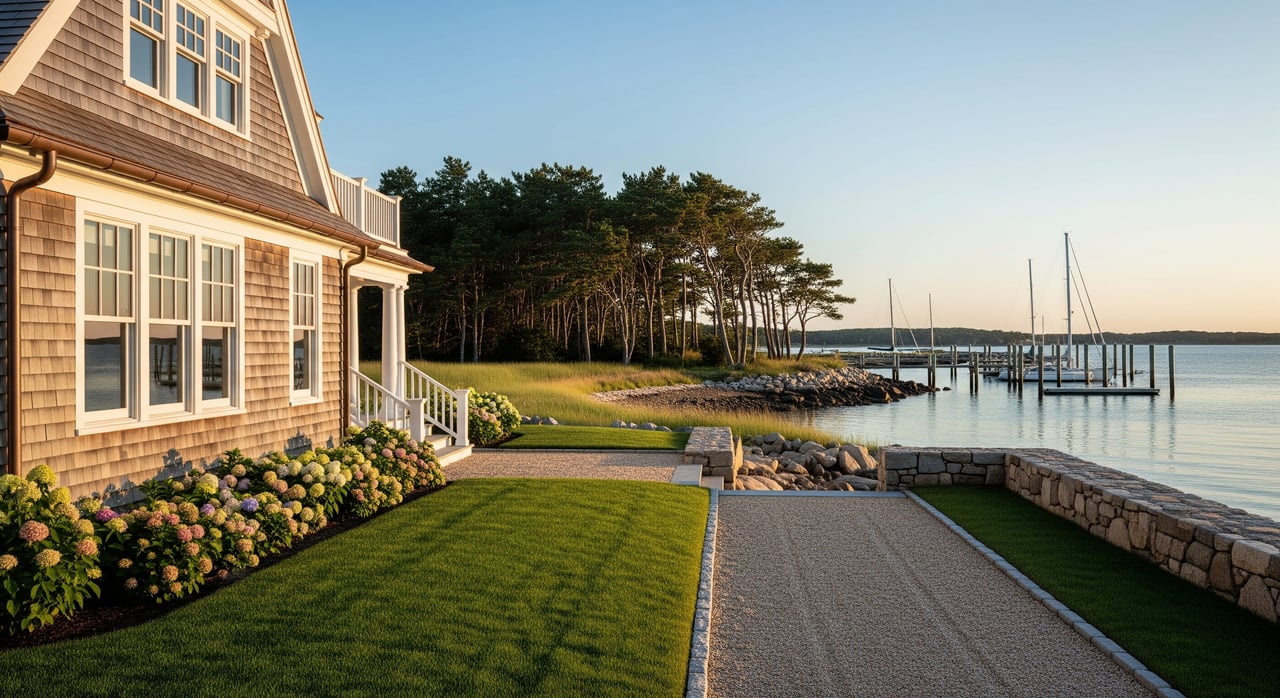
Outdoor living
- Clean and stage decks or patios with a small dining set or seating area.
- Remove winter covers and tidy grills and tools.
- Add seasonal planters to the deck or near the entry.
Photo tips:
- Capture the transition from kitchen or family room to the deck in afternoon light.
Vacant vs. occupied
- Vacant homes: Consider professional staging or carefully labeled high-quality virtual staging so buyers can gauge scale and function.
- Occupied homes: Depersonalize by removing family photos and collections, edit furniture to improve traffic flow, and invest in professional deep cleaning.
Photography that sells
- Aim for 7 to 12 photos that tell a clear story: curb, approach, entry, living, dining, kitchen, family room, primary suite and bath, secondary bedrooms, laundry or mudroom, outdoor living, and a few key details like mantels or crown molding.
- Use a tripod and shoot at eye level for natural proportions. Capture multiple exposures for balanced windows and interior detail.
- Keep white balance consistent and avoid extreme wide-angle distortion.
- Plan a twilight exterior and bright daytime interiors for variety and emotional appeal.
Vendors and sequencing
Key vendor roles:
- Listing agent to set strategy, prioritize updates, and coordinate staging and marketing.
- Professional stager for furniture, accessories, and layout, especially for vacant homes.
- Real estate photographer for interiors, exteriors, and optional virtual tours.
- Handyman or contractor for quick fixes, hardware swaps, and small repairs.
- Painter for neutral refreshes where needed.
- Cleaner for a top-to-bottom deep clean, including windows and carpets.
- Landscaper for spring clean-up, pruning, mulch, and seasonal color.
- Electrician or plumber for safety and lighting or fixture updates.
- Short-term storage or moving help to support decluttering.
Suggested timeline for a spring launch:
- 6 to 8 weeks out: meet with your agent for a pricing and prep plan; schedule contractors and stager.
- 3 to 4 weeks out: complete repairs, painting, landscaping clean-up, and a deep clean.
- 1 week out: install rental staging if planned; finalize styling.
- 1 to 3 days before photos: detail clean, fresh linens and towels, mulch touch-ups; schedule photos in good light.
- Listing live: maintain a showing checklist and keep spaces photo-ready through opening weekend.
Budget and ROI basics
- Prioritize kitchen and primary bath cleanliness and function, neutral paint, and curb appeal. These carry strong perceived value for Norwell buyers.
- Staging costs vary by home size, rooms staged, and rental duration. Your agent can source local estimates and right-size the scope.
- Industry data shows that staged homes often sell faster and may attract stronger offers than similar unstaged homes. Use comparable sales and your agent’s analysis to decide where staging delivers the best return.
Showing prep routine
- Open all shades, turn on lights, and set a comfortable temperature.
- Wipe counters, clear sinks, secure valuables, and hide personal items and pet supplies.
- Fluff bedding and pillows, fold towels, and remove laundry baskets.
- Do a quick sweep of porches, steps, and walkways; add a small seasonal touch at the entry.
Ready to list with confidence
Thoughtful staging helps Norwell buyers see how your Colonial lives day to day while honoring its timeless architecture. With the right prep, lighting, and flow, you can launch in spring with photos that stop shoppers mid-scroll and an in-person experience that confirms their interest. If you want a coordinated plan from staging to photography and marketing, connect with a local advisor who can manage the details.
Have questions or want a tailored plan for your address? Reach out to Paul Preziosi to schedule a consultation and get your Norwell Colonial market-ready.
FAQs
How much should I spend on staging a Norwell Colonial?
- Focus first on the kitchen, primary suite, main living spaces, and curb appeal, then scale up if budget allows, using your agent’s pricing analysis to guide choices.
Should I repaint before listing in Norwell?
- If colors are bold or dated, a warm neutral refresh helps rooms feel larger and move-in ready while letting trim and architectural details stand out.
Is physical or virtual staging better for a vacant home?
- Physical staging typically shows and photographs best, while virtual staging can be a budget-friendly supplement online as long as it is clearly labeled.
What should I do about pets and personal items during showings?
- Remove pet items and odors, secure personal photos and collections, and keep surfaces clear so buyers can focus on the home.
How do I recover curb appeal after winter on the South Shore?
- Clean salt residue from hardscapes, edge beds, add mulch, repair lawn damage from thaw, and plant early-season color a week before photos.